
How to Set up a Simple, Automated Pool Lighting System?
Setting up a Simple, Automated Pool Lighting System
When it comes to enhancing the ambiance and safety of your pool area, installing a simple, automated pool lighting system can make a significant difference. Not only does it add a touch of elegance to your outdoor space, but it also ensures that your pool area is well-lit for evening swims or gatherings. In this guide, we will walk you through the steps to set up a straightforward automated pool lighting system that will elevate your pool experience.
Choosing the Right Lighting Fixtures
The first step in creating an automated pool lighting system is selecting the right lighting fixtures. LED lights are a popular choice for pool lighting due to their energy efficiency, longevity, and ability to produce vibrant colors. When choosing LED lights, opt for fixtures specifically designed for underwater use to ensure durability and safety. Additionally, consider the color options available and select lights that complement your pool area’s aesthetic.
Installing the Lighting Fixtures
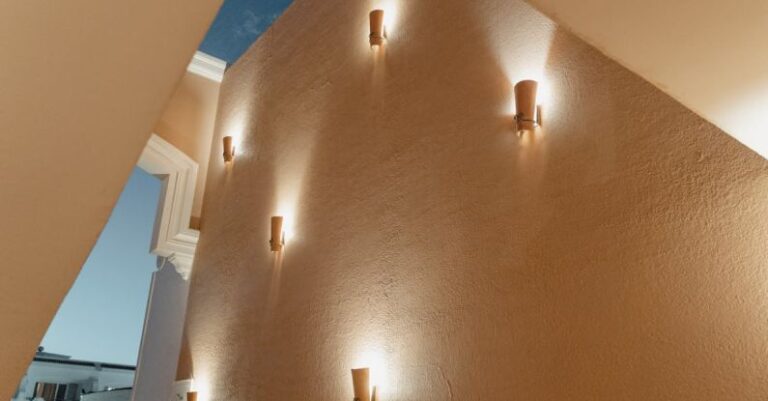
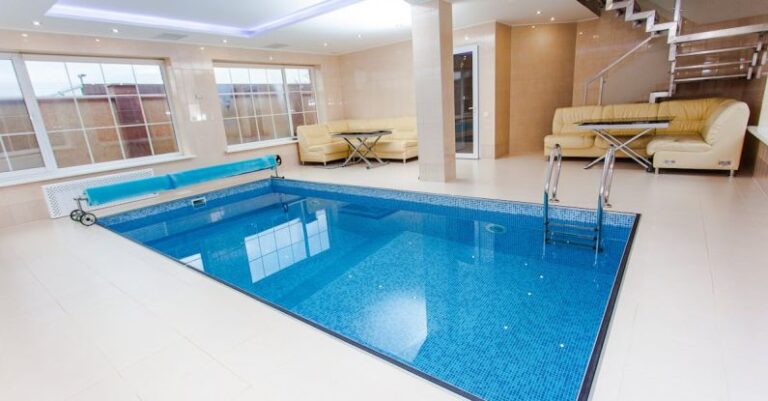
Once you have chosen the appropriate lighting fixtures, the next step is to install them around your pool. Begin by identifying the best locations to place the fixtures, considering factors such as visibility, coverage, and potential obstructions. Whether you prefer wall-mounted lights, floating lights, or lights installed in the pool deck, ensure that the fixtures are evenly distributed to achieve balanced illumination.
Wiring the Lighting System
To automate your pool lighting system, you will need to connect the lighting fixtures to a control system that allows you to adjust the lights remotely. Start by running the necessary wiring from each light fixture to the control panel location. It is crucial to follow the manufacturer’s instructions carefully to ensure the wiring is done correctly and safely. If you are not comfortable working with electrical components, consider hiring a professional electrician to assist you with this step.
Setting Up the Control System
The control system is the heart of your automated pool lighting setup, enabling you to program lighting schedules, adjust brightness levels, and even synchronize the lights with other outdoor features. Depending on the complexity of the system, you may choose a basic timer-based controller or a more advanced smart home system that allows you to control the lights remotely via a smartphone app. Follow the manufacturer’s instructions to set up and configure the control system according to your preferences.
Programming Lighting Schedules
One of the key benefits of an automated pool lighting system is the ability to program lighting schedules based on your usage patterns and preferences. Create different lighting scenes for relaxing evenings, lively gatherings, or late-night swims to enhance the atmosphere of your pool area. Experiment with color combinations, brightness levels, and transition effects to find the perfect settings that suit your mood and occasion.
Maintaining Your Pool Lighting System
To ensure that your automated pool lighting system continues to operate efficiently, regular maintenance is essential. Check the lights periodically for any signs of damage or malfunction, such as flickering bulbs or water leakage. Clean the light fixtures and lenses to prevent dirt and debris from affecting the quality of the illumination. Additionally, inspect the wiring connections and control system components to address any issues promptly.
Enhancing Your Pool Experience with Automated Lighting
By following these steps to set up a simple, automated pool lighting system, you can transform your pool area into a captivating and inviting space for both relaxation and entertainment. Whether you are hosting a poolside party or enjoying a quiet swim under the stars, the right lighting can elevate your experience and create a memorable atmosphere. Take the time to design a lighting scheme that reflects your style and preferences, and enjoy the magic of a well-lit pool area all year round.